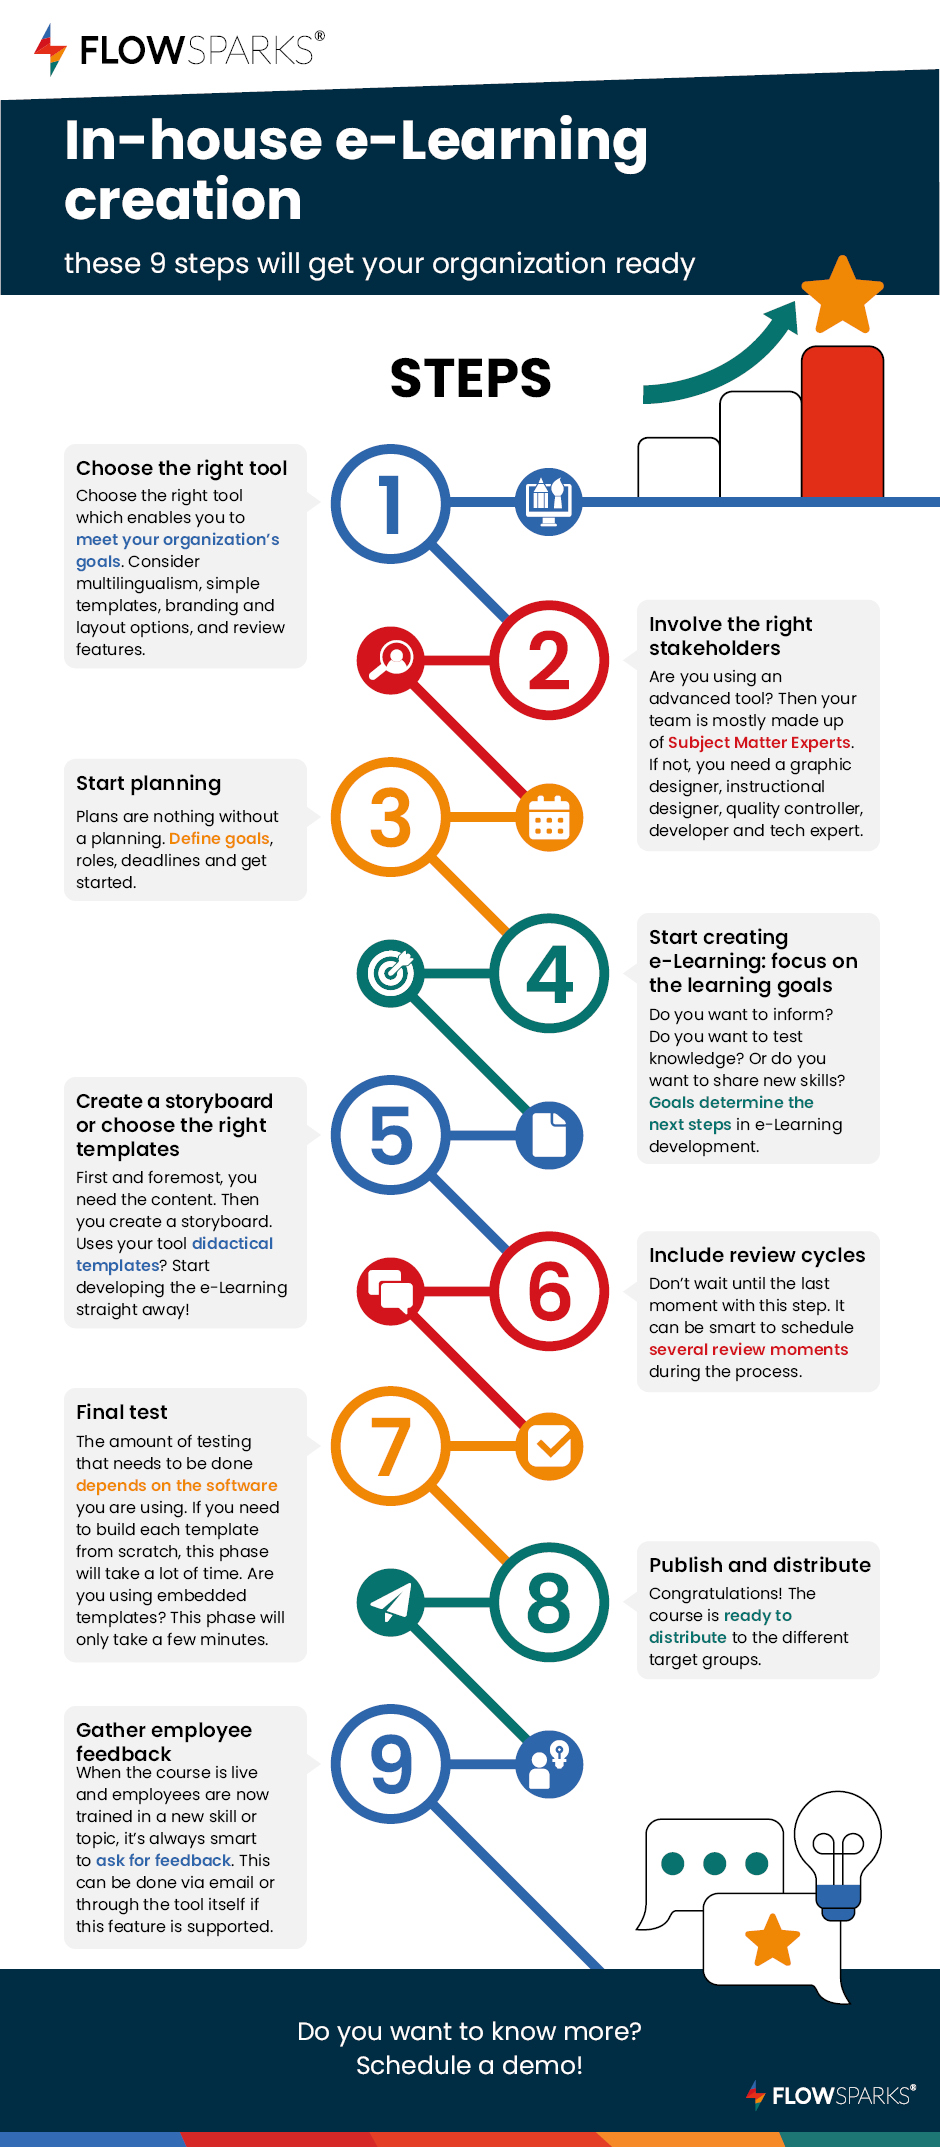
Create an E-learning training course in 9 steps
- Reading time: 3 minutes
We’ll explain you the 9 steps that you should follow to successfully start with E-learning course creation. Some organizations completely outsource the creation of courses, others partially. Either way, organizations want to be in control when it comes to their learning strategy and content. That’s why more and more companies are looking for ways to create custom e-Learning in-house. This sounds like a huge challenge, but no worries, we are here to help you out!
Benefits of creating your own e-learning training courses for employees:
First, let’s look at the benefits of searching for customized e-Learning solutions to create your own e-Learning:
- In-house knowledge transfer: who knows your organization better than your employees? Right, no one! By involving Subject Matter Experts (SME), your training courses will be spot on. With the right software you can even let your employees create e-Learning independently.
- Faster results: Save time and create new courses faster because you don’t have to rely on external parties.
- Easy to edit & update: A business is dynamic, and things change continuously. By being in control of your e-Learning courses, small changes on working methods or a product range can be implemented in no time.
- Lower costs: Think about the cuts in costs when you don’t need to outsource every single e-Learning project or small change request.
- Quick review cycles: If you’ve gathered the right people around you, you can have quick and short review cycles.
- Increased involvement: with custom e-Learning development, you ensure greater involvement in the L&D strategy. Employees feel more involved and new ideas will emerge.

Create e-Learning in-house with these 9 steps
Ready to start creating your own e-learning training courses? Look at these steps!
1. Choose the right tool
The right tools are half the battle. Therefore, choose the right tool which enables you to meet your organization’s goals. Take stock of what is important for your specific learning & development business case. Consider multilingualism, simple e-Learning templates, branding and layout options, and review features. Once you have a complete list, start looking for the tool that fits your needs and allows you to get started independently and quickly.
![]()
2. Involve the right stakeholders
Which team members should take a seat at the table when creating an e-learning course? This might depend on the software you are using. If the tool offers the basics of e-learning development, then you will need an instructional designer, graphic designer, developer, tech expert, project manager, and quality controller. Is the tool more advanced and does it, for example, use didactic e-Learning templates for e-Learning creation? Then the team becomes a lot smaller. In that case, soley the Subject Matter Expert (SME) needs to focus on the tool. The templates are built in such a way that the courses always look good on any device. Also, the integrated didactics ensure that an instructional designer is not needed.
Once you have selected the right stakeholders, the people start being engaged to share their knowledge, and you can move to step 3: planning!
![]()
3. Start planning
Plans are nothing without planning. Even a simple Excel sheet can get you going, but if you want to take your planning to the next level, it could be useful to look for a project management platform like Trello or Asana. Define goals, roles, deadlines and get started.
![]()
4. Start creating e-Learning: focus on the learning goals
Are you a goal digger? Then this step is right up your street! The first step in developing any digital module is to determine the learning goals. Do you want to inform? Do you want to test knowledge? Or do you want to share new skills? The goals always determine the next steps in e-Learning development.
![]()
5. Create a storyboard or choose the right templates
Hooray, you’ve reached the point where you can start developing the actual e-Learning. What this step looks like depends very much on the tool you are using and who is involved in developing the e-Learning. First and foremost, you need the content. Then, if necessary, you can create a storyboard. This step gets a little easier when your tool has didactical templates embedded, then you can start developing the e-learning straight away!
![]()
6. Include review cycles
Are stakeholders ready to develop e-Learning? Then make sure that a review takes place. By the way, this does not always have to wait until the last moment; on the contrary, it can be smart to schedule several review moments during the process. Have people with different backgrounds look at the module and collect suggestions to improve the course.
![]()
7. Final test
When the course is ready, you need to plan a final test. Do all the interactive elements such as questions or buttons work? And does the course look good on all mobile devices?
The amount of testing that needs to be done and the time it will take depends greatly on the software you are using. If you need to build each template from scratch and create each button yourself, this phase will take a lot of time. Are you using embedded e-Learning templates? This phase will only take a few minutes.
![]()
8. Publish and distribute
Congratulations! The course is ready to distribute to the different target groups.
![]()
9. Gather employee feedback
When the course is live and employees are now trained in a new skill or topic, it’s always smart to ask for feedback. This can be done via email or through the tool itself if this feature is supported.
![]()
If you follow these steps, you will be amazed at the ease and speed with which you can develop in-house e-Learning content. Good luck!
Are you also interested to develop your own in-house e-Learning? Schedule a demo with FLOWSPARKS. We are happy to show you how it works.

